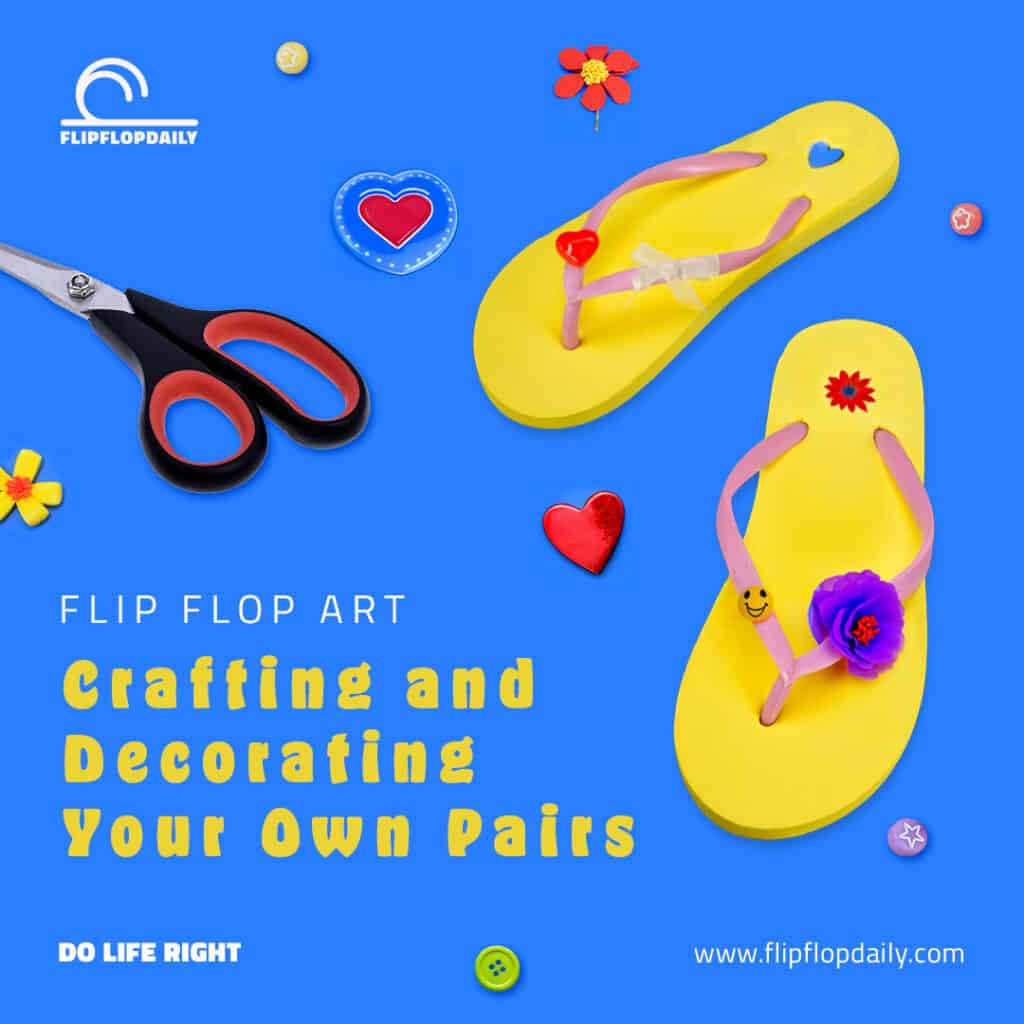
Flip flops – a footwear classic! They offer comfort and breathability, making them a year-round favorite. But why settle for plain and ordinary when you can create a masterpiece for your feet? Personalizing your flip flops is more than just a fun and creative project; it’s a fantastic way to showcase your unique style.
Get ready to unleash your inner artist! We’ll explore creative ideas for customizing your flip flops using a variety of materials like paints, markers, beads, and fabric. We’ll also show you how to share your designs on social media to inspire others and build a community around your custom creations.
Gather Your Supplies:
Before diving into customization, grab these essentials:
- Plain Flip Flops: Choose a basic pair as your canvas. Neutral tones offer the most flexibility, but feel free to experiment with color!
- Acrylic Paints and Brushes: For intricate designs, you’ll need acrylic paints in your desired colors and fine brushes for detail work.
- Fabric: Breathe new life into old T-shirts or fabric scraps by incorporating them into your flip flop design.
- Permanent Markers: Fine-tipped markers are great for drawing detailed designs.
- Embellishments: Take your flip flops from basic to blinged-out with beads, glue, sequins, and rhinestones.
- Ribbons and Fabric Glue: Create a boho vibe by attaching fabric pieces or ribbons.
- Scissors: An essential tool for cutting fabric, ribbons, and other materials.
Step 1: Prep Your Canvas
Cleanliness is key! Wipe down your flip flops to remove any dirt or dust that might hinder your artistic expression.
Want a different base color? Consider painting your flip flops with acrylic paint. Let them dry completely before moving on to the fun part – unleashing your creativity!
Step 2: Unleash Your Inner Artist
The possibilities are endless! Here are a few ideas to get you started:
- Painting Paradise: Sketch out your design with a pencil first, then use fine brushes and acrylic paints to bring your masterpiece to life. Be patient and allow each color to dry completely to avoid smudging.
- Marker Marvels: For intricate designs or personalized messages, sketch your design with a pencil and then use fine-tipped permanent markers to outline and color your creation.
Step 3: Embellish It Up!
Once you’ve painted or drawn your design, it’s time to add some pizzazz! Here are some ideas:
- Bling It On: Use beads and craft glue to add a touch of sparkle and dimension to your flip flops.
- Sequin Sensation: Let your flip flops shine with sequins and rhinestones.
- Boho Beauty: Attach fabric pieces or ribbons with fabric glue for a touch of bohemian flair.
Step 4: The Final Touches
Let everything dry thoroughly before proudly sporting your one-of-a-kind flip flops. To protect your design and enhance its durability, consider applying a clear varnish.
Share the Flip Flop Love!
Now that you’ve created your masterpiece, it’s time to share it with the world and inspire others! Here’s how:
- Social Media Spotlight: Share your creations on platforms like Instagram, Twitter, and Facebook using a brand-specific hashtag. This connects you with other flip flop enthusiasts and allows you to share your creative process, the materials you used, and any tips you learned along the way.
- Building a community: Tell your fans they can join in the fun by decorating their own flip-flops and using your brand’s hashtag. You can even host a contest or giveaway to generate excitement and reward creativity.
Conclusion
Adding paint, crayons, beads, fabric, and other things to your flip flops to make them your own is a great way to show who you are. By sharing your creations on social media using a brand-specific hashtag, you can inspire others to get creative and build a vibrant community of flip flop enthusiasts. So grab your materials, let your imagination run wild, and step out in style with your one-of-a-kind flip flops!
It’s time to Do Life Right!
Check out the best flip flop reviews, flip flop advice and flip flop philosophy on how to live a flip flop life!

